Shopify
This guide explains how to install and enable J-Pay payments on your Shopify store.
1. Send the activation letter
Please email the following information to [email protected]:
- Mid: e.g.
10151 - Api-key: e.g.
3p17o32a83gge5tho3vpv0m61nvhtye9 - Shopify store domain: e.g.
xxx.myshopify.com - Company name: e.g.
xxxxxx Co., Ltd. - Brand name (billing descriptor): e.g.
XXX
You will typically receive the Store Code and HashKey within 2 business days.
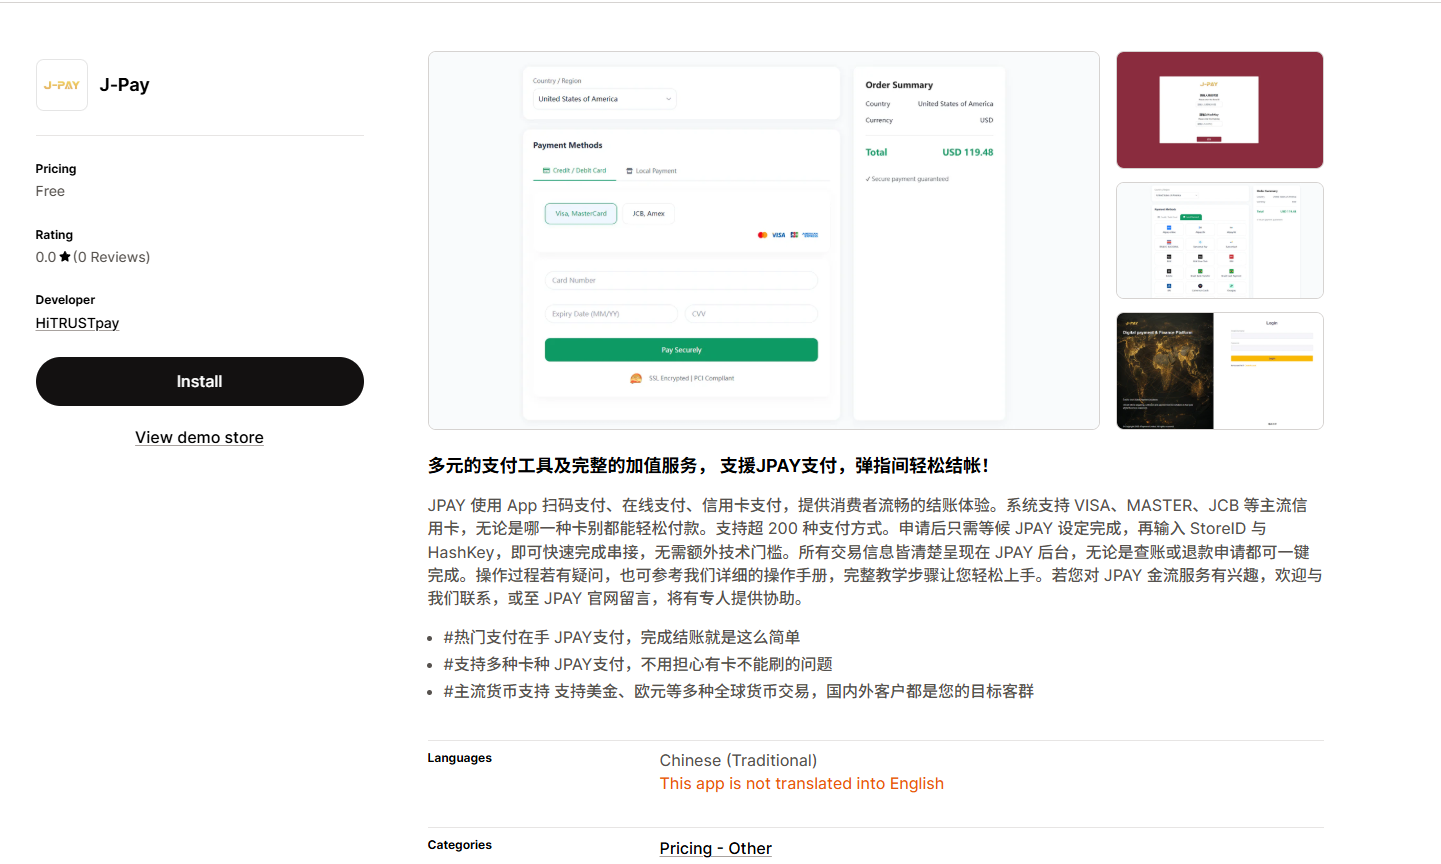
2. Install Shopify App
Open the Shopify App page and install it:
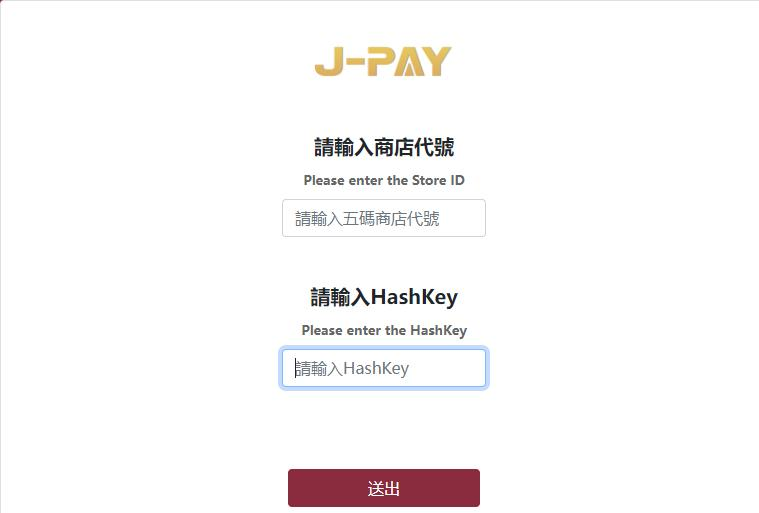
3. Fill in the store code and HashKey
After installation, enter the Store Code and HashKey provided via email, then submit.
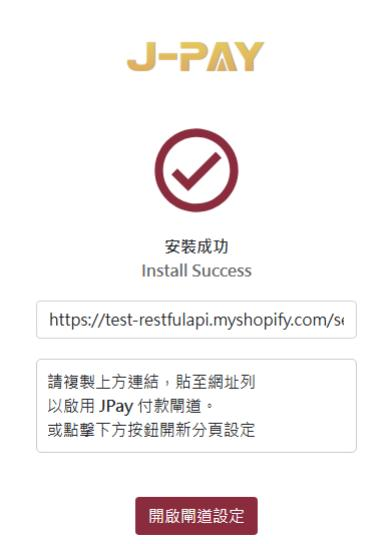
4. Jump to authorization (copy the link to access if not automatically redirected)
Normally, you will see a prompt page and be redirected to the authorization link automatically.
If it does not redirect automatically, copy the link shown on the page and open it in a browser to complete authorization.
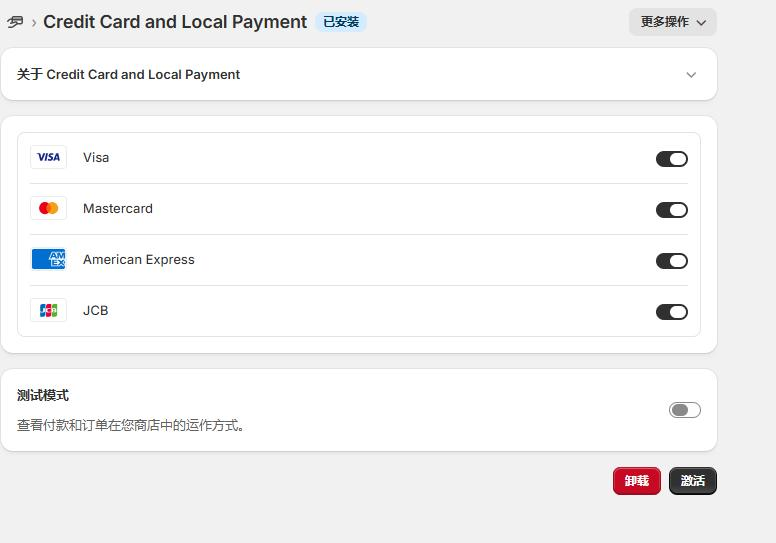
5. Select the card organization and activate
On the payment method selection page:
- Credit cards: usually select
visa,mastercard,JCB - American Express: select
Express
Then click Activate.
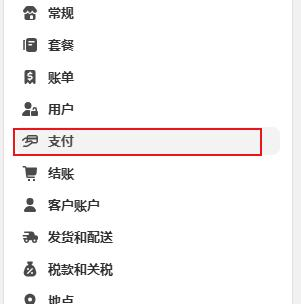
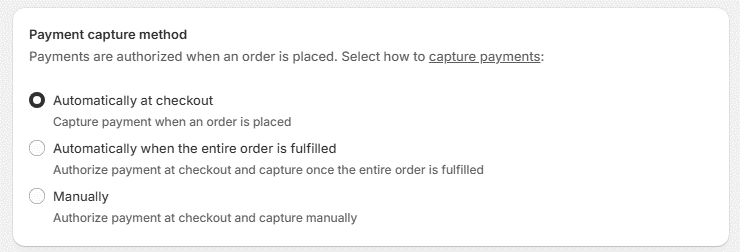
6. Set payment method to automatic
In Shopify admin payment settings, set the Payment capture method to Automatic.
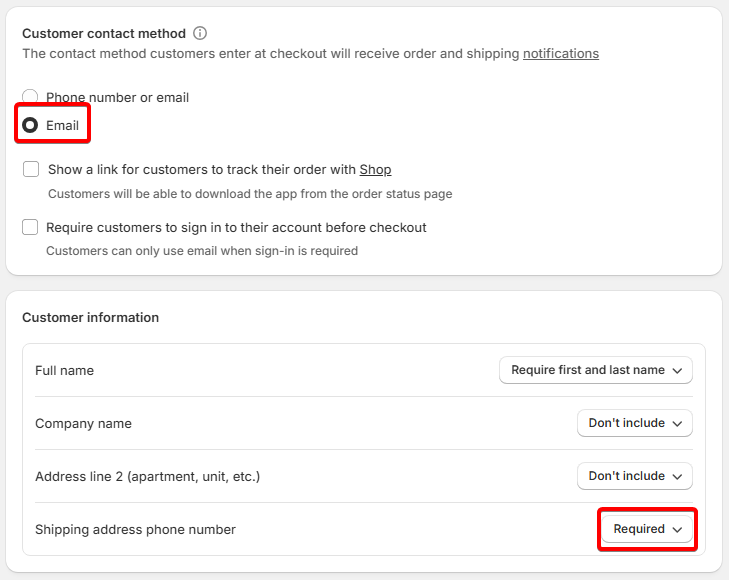
7. Checkout settings
On the Checkout settings page, configure the options as shown in the manual.
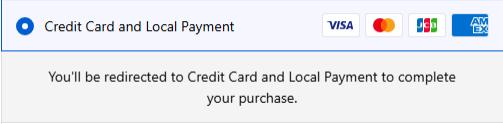
8. Validate payment display
After configuration, JPay will appear on your store checkout page.
When paying by card, you will see Credit Card and Local Payment. Select one and follow the on-screen instructions to complete the payment.